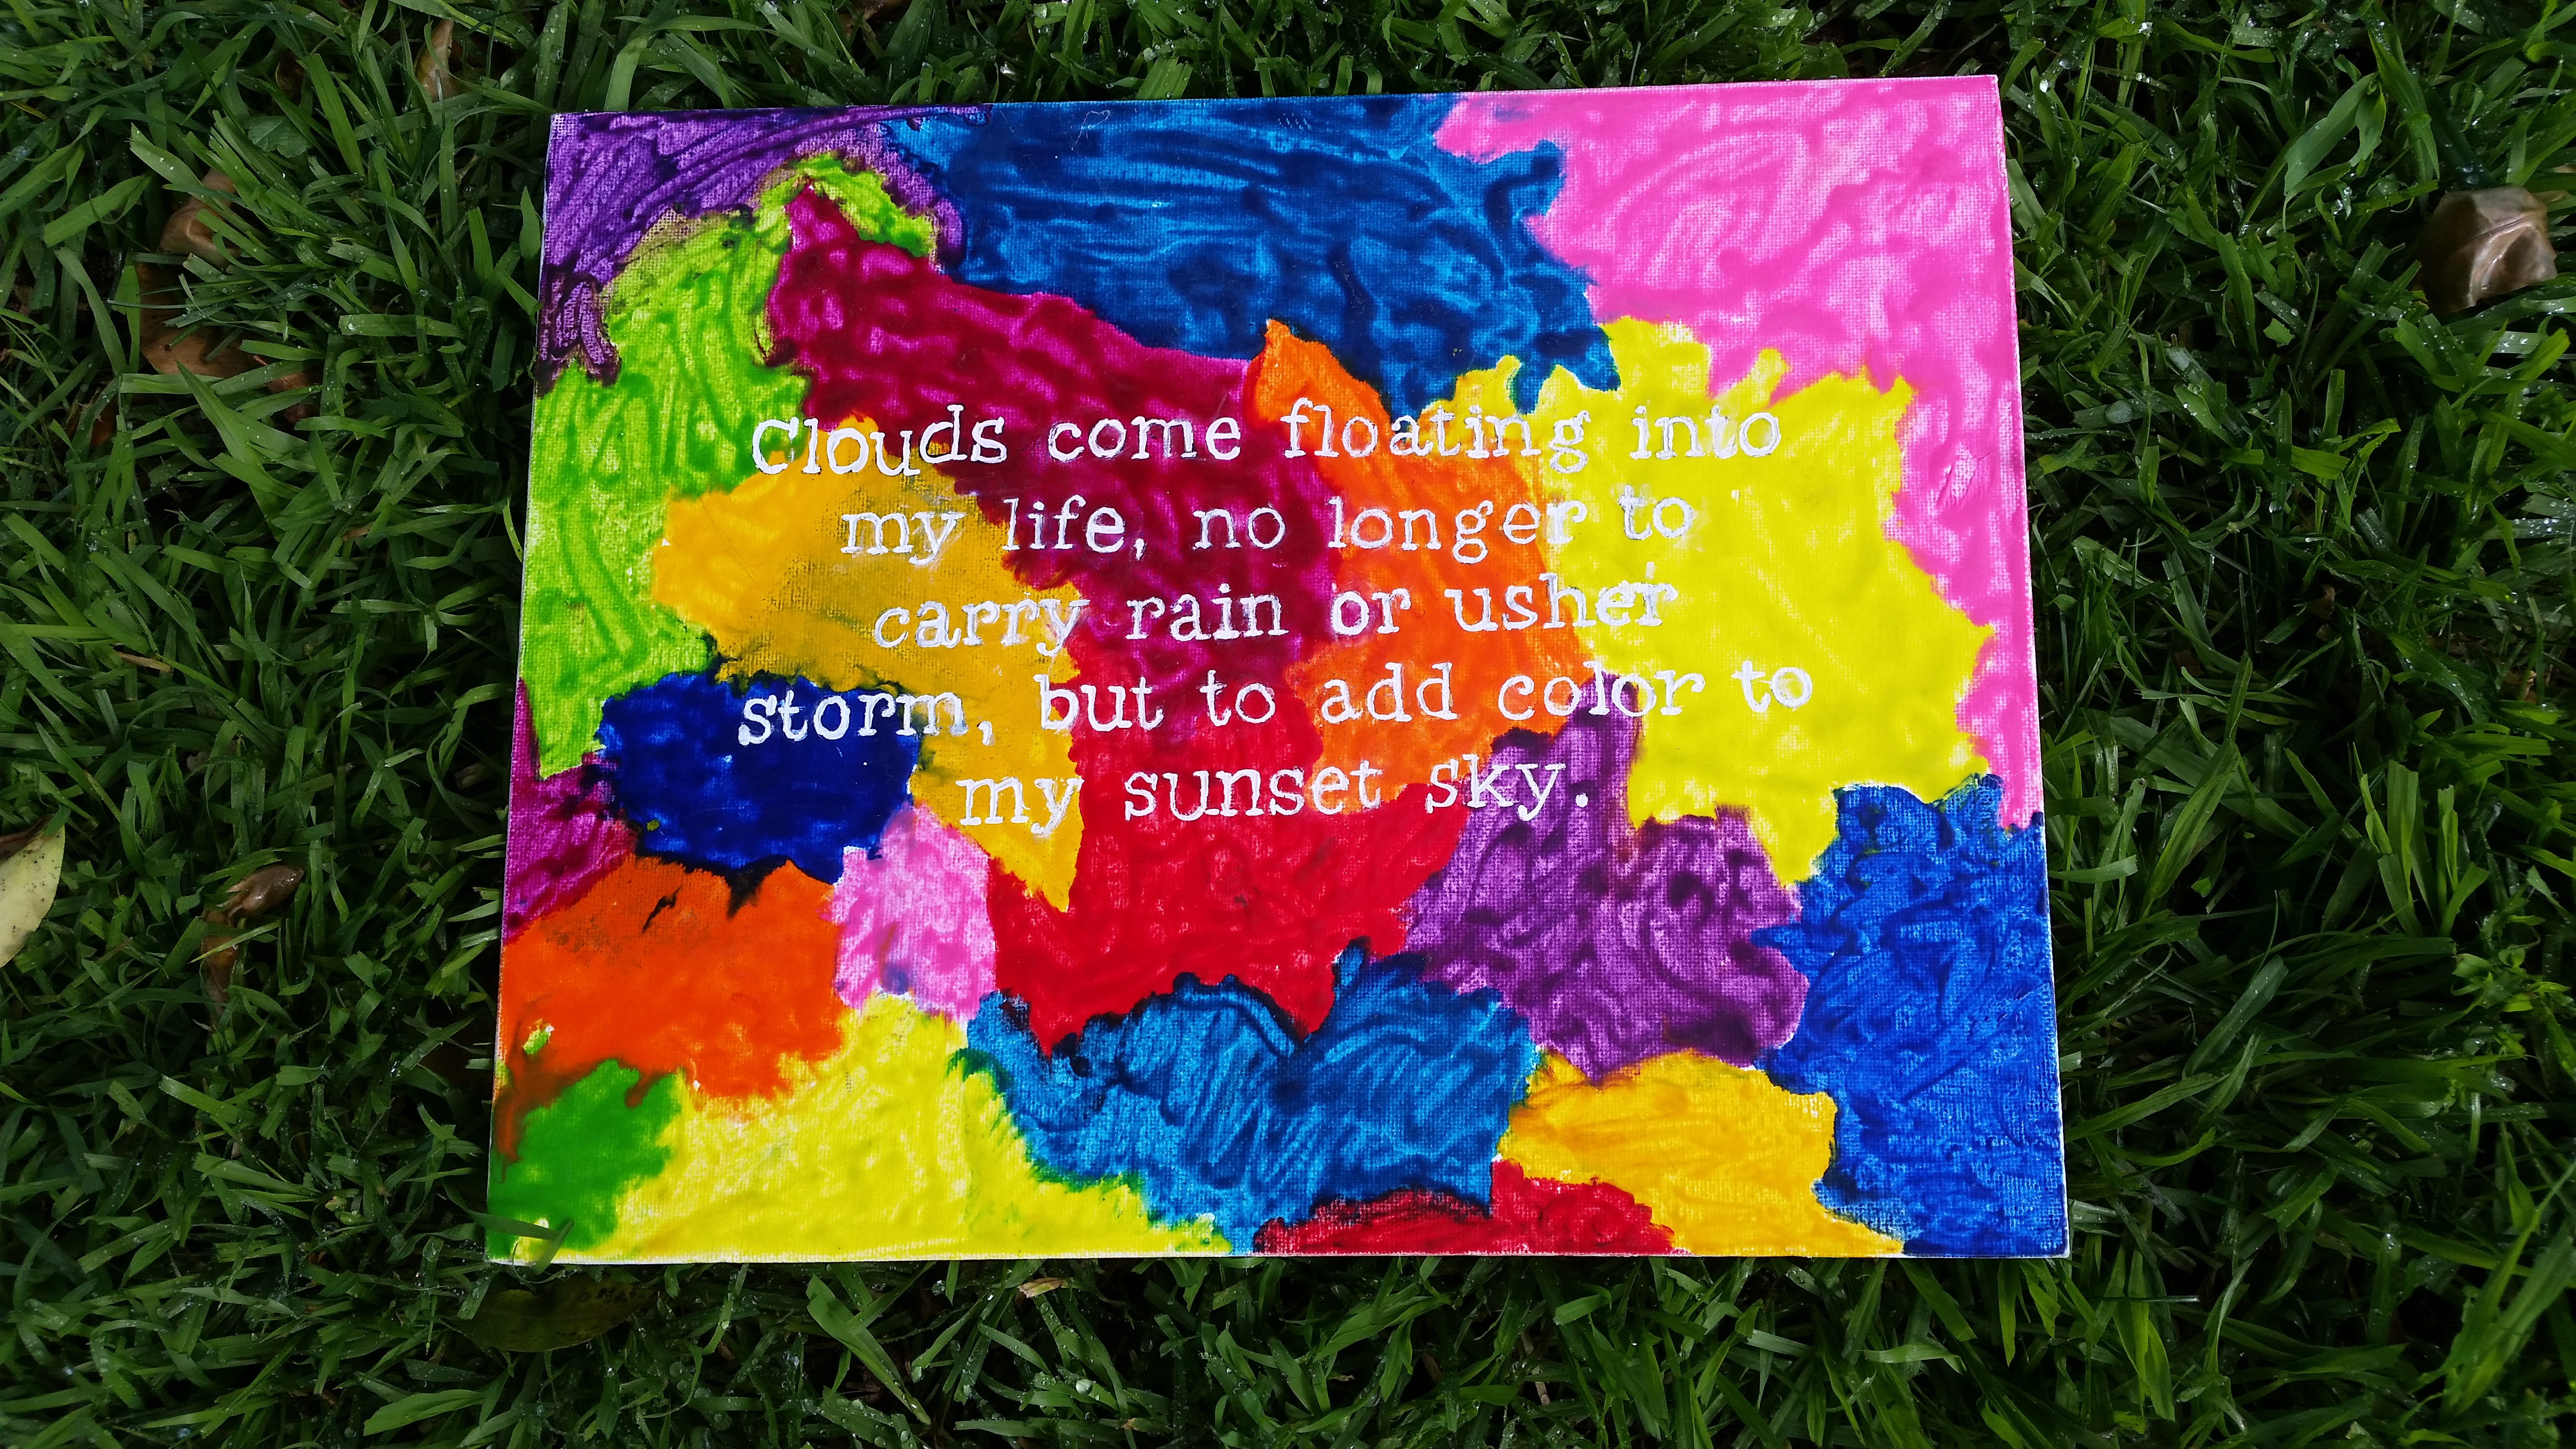
 This is my most recent melted crayon project. To make the background I simply made shapes with a crayon while holding a hairdryer above it to make it melt. After it dried I carved my text into the crayon surface. I found it easiest to use a pen without ink because of the small tip. Also if you are doubtful of your skills (like me) you can print out a paper with the text, design, etc. and carve through the paper. Just make sure that your paper doesn’t shift while you are working otherwise your stuff will end up crooked. After I finish my carving this piece of art (I called it a piece of junk at that time) was thrown to the side; cast to the side in favor of jewelry making. After about two months I took it out again, determined to finish it. I tried painting the letters black, however the words then were not visible against the darker colors. So, I painted it white and I am really happy with the way it turned out.